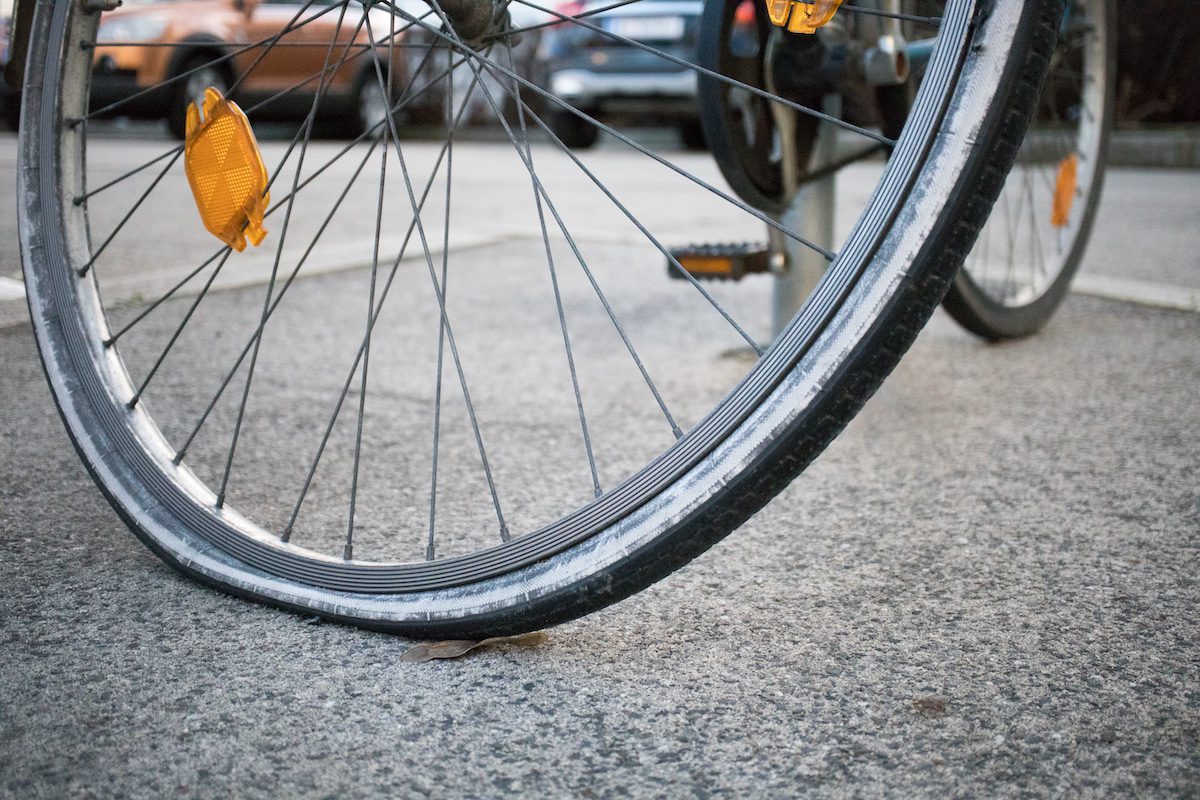
When you’re out on your bike, the last thing you want to encounter is a flat tire. It’s a common issue that can happen to even the most experienced cyclists. However, fear not! With a few essential tools and a little know-how, you can fix a flat bike tire quickly and get back to enjoying your ride. In this comprehensive guide, we’ll walk you through the 10 steps to effectively and easily fix a flat bike tire.
Step 1: Gather Your Tools
Before you start, ensure you have the necessary tools on hand. Here’s what you’ll need:
- Tire levers: These will help you remove the tire from the rim.
- Spare tube: Carry an extra tube that matches your tire size.
- Pump: Make sure it’s in good working condition.
- Patch kit: This is optional but handy for repairing small punctures in your tube.
- Bike multitool: Useful for removing the wheel and other minor adjustments.
Having these tools ready will save you time and frustration when fixing your flat tire.
Step 2: Find a Safe Location
If you discover a flat tire during your ride, find a safe spot to stop. Move away from traffic, if possible, and ensure your bike is on stable ground. This will make the repair process safer and more efficient.
Step 3: Remove the Wheel
To access the flat tire, you’ll need to remove the wheel from your bike. Here’s how:
- Shift your bike into the smallest chainring and the smallest rear cog. This will loosen the tension on the chain.
- Open the brake quick release if your bike has rim brakes. For disc brakes, there’s no need to adjust them.
- Depending on your bike’s design, use your multitool to release the wheel. This typically involves loosening the axle nuts or quick-release lever.
- Carefully slide the wheel out of the frame.
Step 4: Release Air Pressure
Before you can remove the tire from the rim, release all the air pressure from the tube. To do this, simply press the valve at the center of the tube. It’s usually a Presta or Schrader valve. Ensure all the air is out to make tire removal easier.
Step 5: Remove the Flat Tire
Now that your tire is deflated, use the tire levers to gently pry the tire off the rim. Start at a point opposite the valve to avoid damaging it. Slide the levers between the tire bead and the rim, and gradually work your way around until the tire is completely off.
Step 6: Inspect the Tire and Rim
With the tire off, take a moment to inspect both the tire and rim. Look for any sharp objects, like glass or thorns, that might have caused the flat. Check the rim for any protruding spokes or sharp edges that could damage the new tube.
Step 7: Insert the New Tube
Now, it’s time to put in your spare tube. Follow these steps:
- Start by partially inflating the new tube to give it some shape.
- Carefully insert the valve through the valve hole in the rim.
- Tuck the tube into the tire, making sure it’s evenly seated inside the tire casing.
Step 8: Reinstall the Tire
This step can be a bit tricky, but with practice, it becomes easier. Follow these steps to reinstall the tire:
- Begin at the valve and work your way around the rim, using your hands to push the tire bead onto the rim.
- Be cautious not to pinch the tube between the tire and the rim, as this can cause another flat.
Step 9: Inflate the Tire
Once the tire is securely on the rim, it’s time to inflate it. Use your pump to add air gradually. Check the tire’s sidewall for the recommended pressure, usually measured in psi (pounds per square inch), and inflate to the appropriate level.
Step 10: Check for Leaks
Before you hit the road again, check for any leaks or punctures. Here’s how:
- Listen for any hissing sounds, which may indicate air escaping.
- Run your hand carefully around the tire’s tread and sidewalls, feeling for sharp objects or unusual bumps.
- If you suspect a leak, you can use a mixture of water and dish soap to identify it. Apply the soapy water to the tire’s surface and watch for bubbles, which will indicate the location of the leak.
Troubleshooting Tips
While fixing a flat bike tire is a straightforward process, sometimes complications can arise. Here are some troubleshooting tips:
1. Tire Won’t Seat Properly
If the tire is not seating evenly on the rim, deflate it completely and start over. Ensure the tube is not pinched between the tire and the rim. Lubricating the tire bead with a little soapy water can help it slide into place more easily.
2. Valve is Leaking
If air is escaping from around the valve, check if it’s properly tightened to the rim. If it’s still leaking, you may need to replace the tube or the valve core.
3. Multiple Flats
If you’re experiencing multiple flats on the same ride, thoroughly inspect the tire and rim for any sharp debris. It’s also a good practice to carry a patch kit for quick fixes on the road.
4. Tire Damage
If the tire itself is severely damaged, it may be time for a replacement. Punctures or cuts on the tire’s sidewall or tread can compromise its integrity and safety.
5. Practice Makes Perfect
Fixing a flat tire becomes more efficient with practice. Don’t get discouraged if it takes a bit longer the first few times. As you become more familiar with the process, you’ll become faster and more confident.
Conclusion
Fixing a flat bike tire is a valuable skill that every cyclist should master. With the right tools and a systematic approach, you can quickly get back on the road and continue enjoying your ride. Remember to always carry the essential tools, and practice the steps outlined here to ensure a smooth and stress-free repair experience. Happy cycling!